Connecting to the Sendd MCP with Claude
This tutorial focuses on how to connect your Sendd MCP to Claude.
Below we will go into a step by step process of how to add this MCP server to Claude.
MCP Server with Claude
-
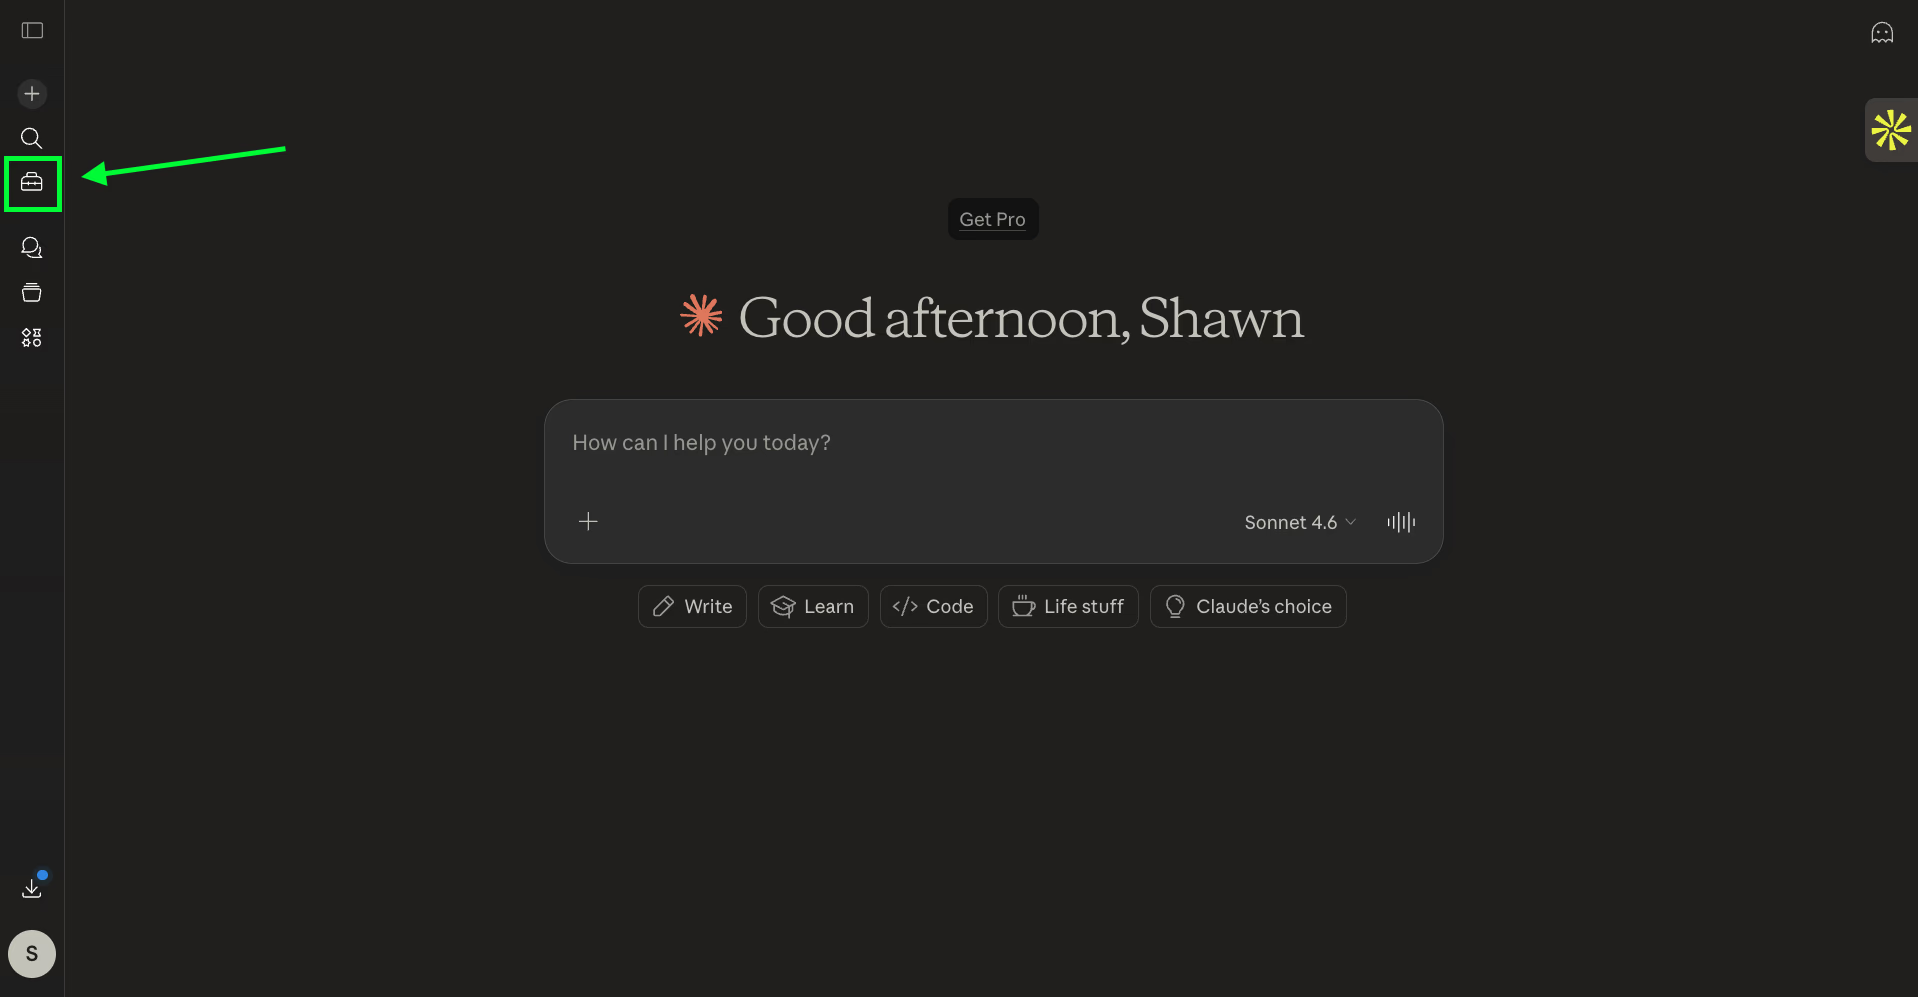
Go to your Claude homepage, and click on Customize as shown below.
-
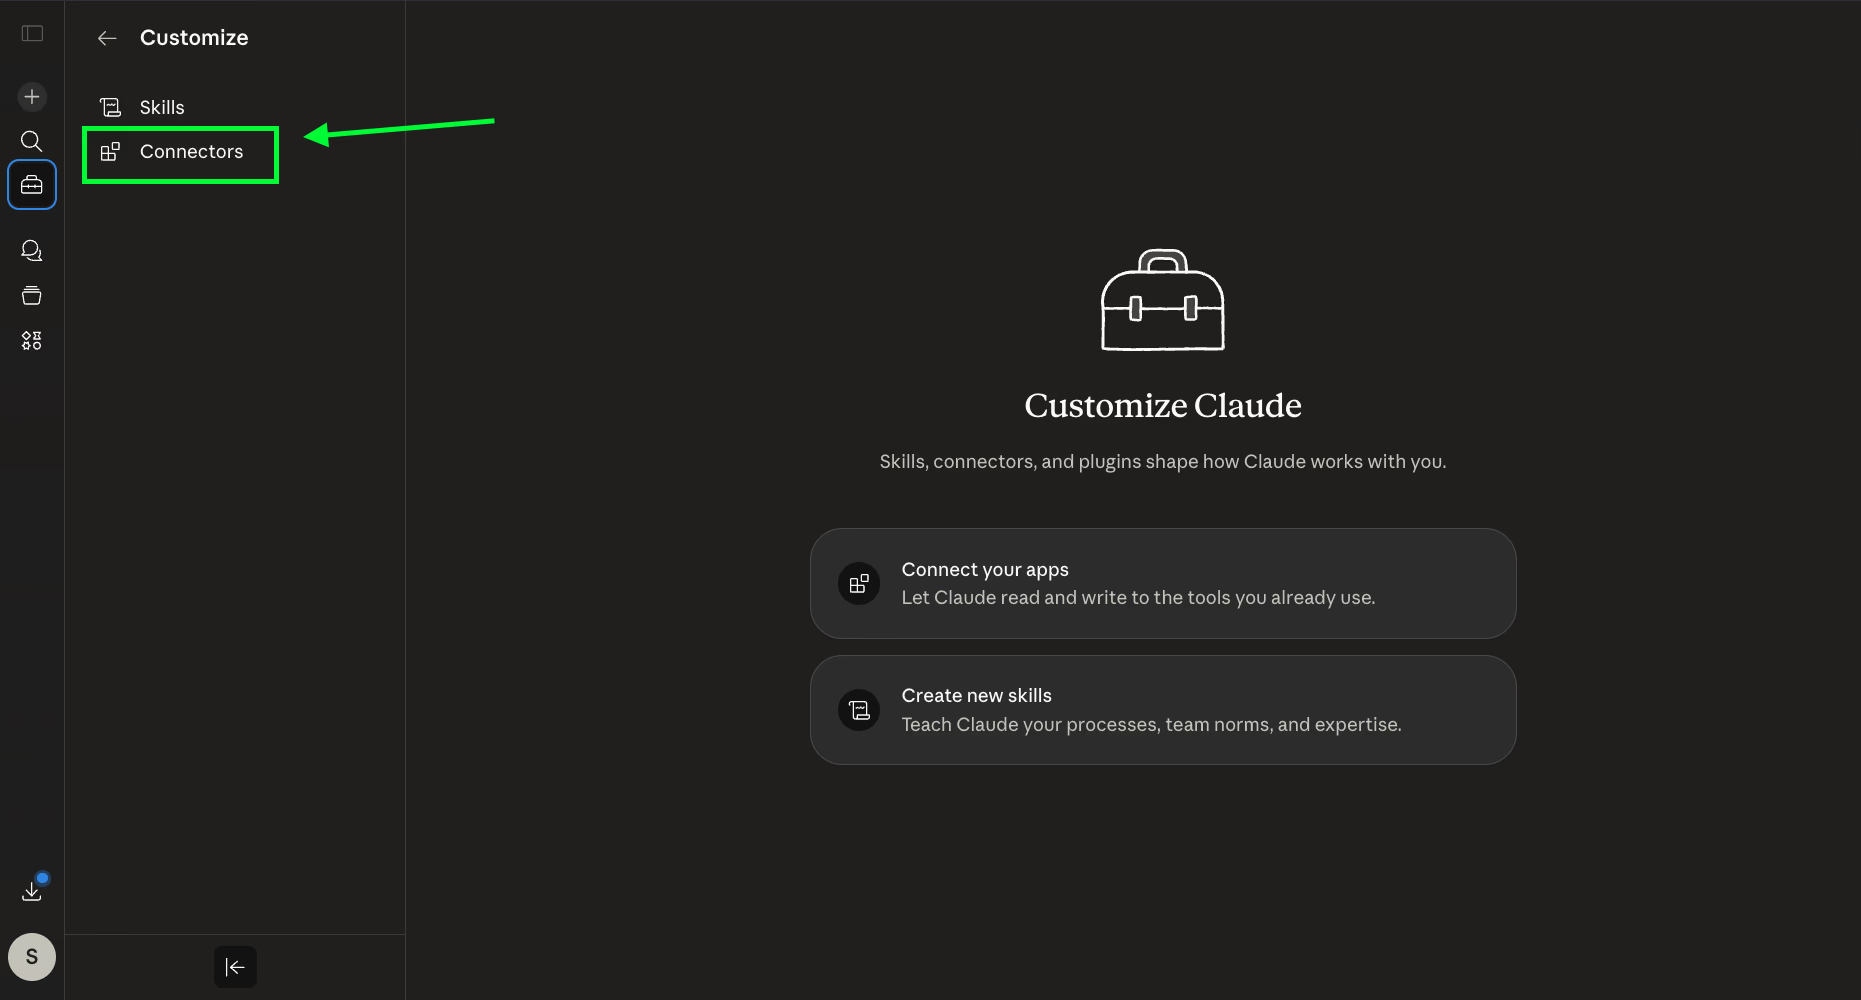
Click on Connectors as shown below.
-
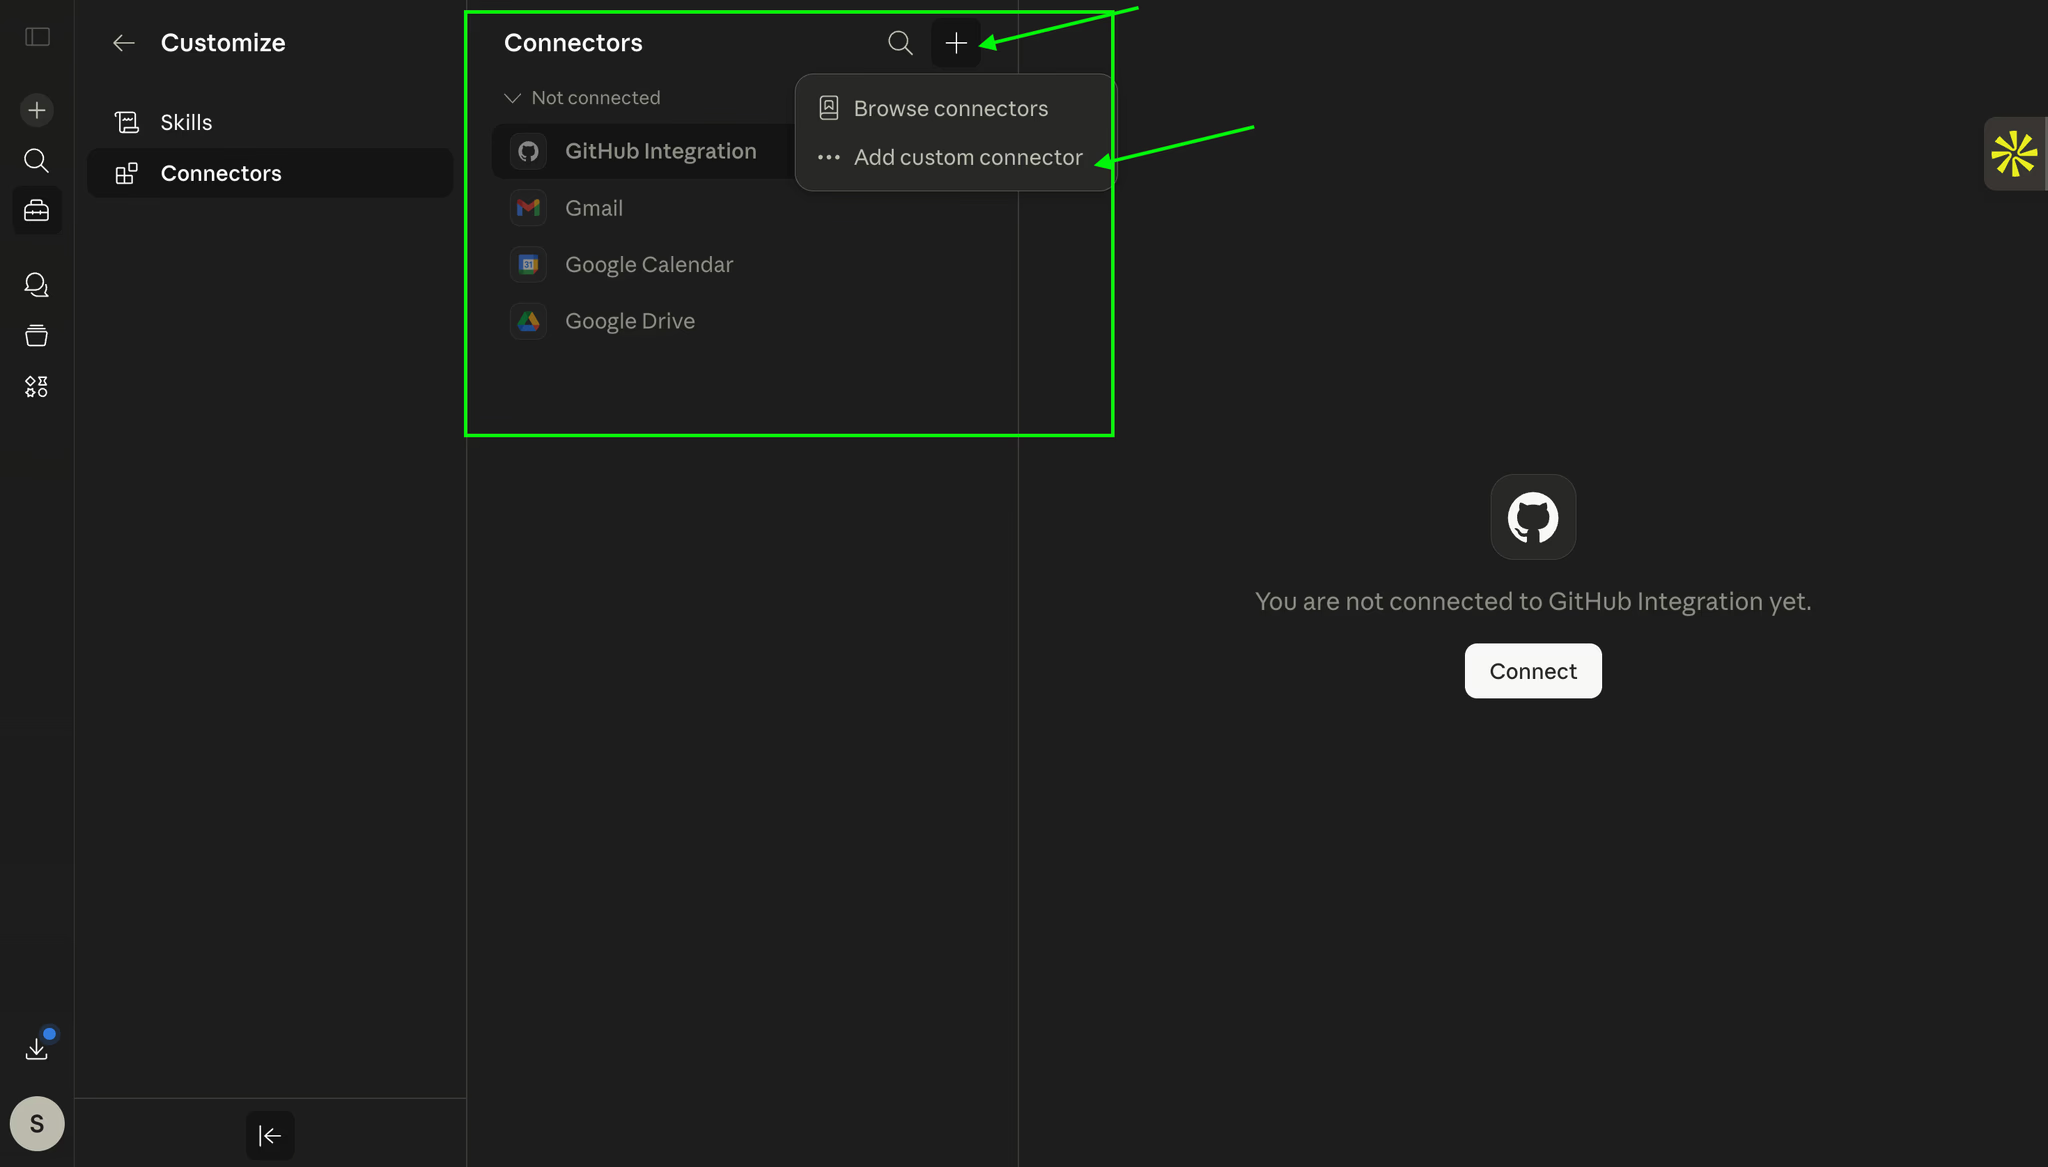
Click on the ”+” button and click on Add Custom Connector.
-
There are two fields, for the name of the connector as well as the MCP link. Here for the Connector name I put in:
Sendd MCP. And for the link paste in:https://sendd-web-mcp.onrender.com/mcpThen click on Add.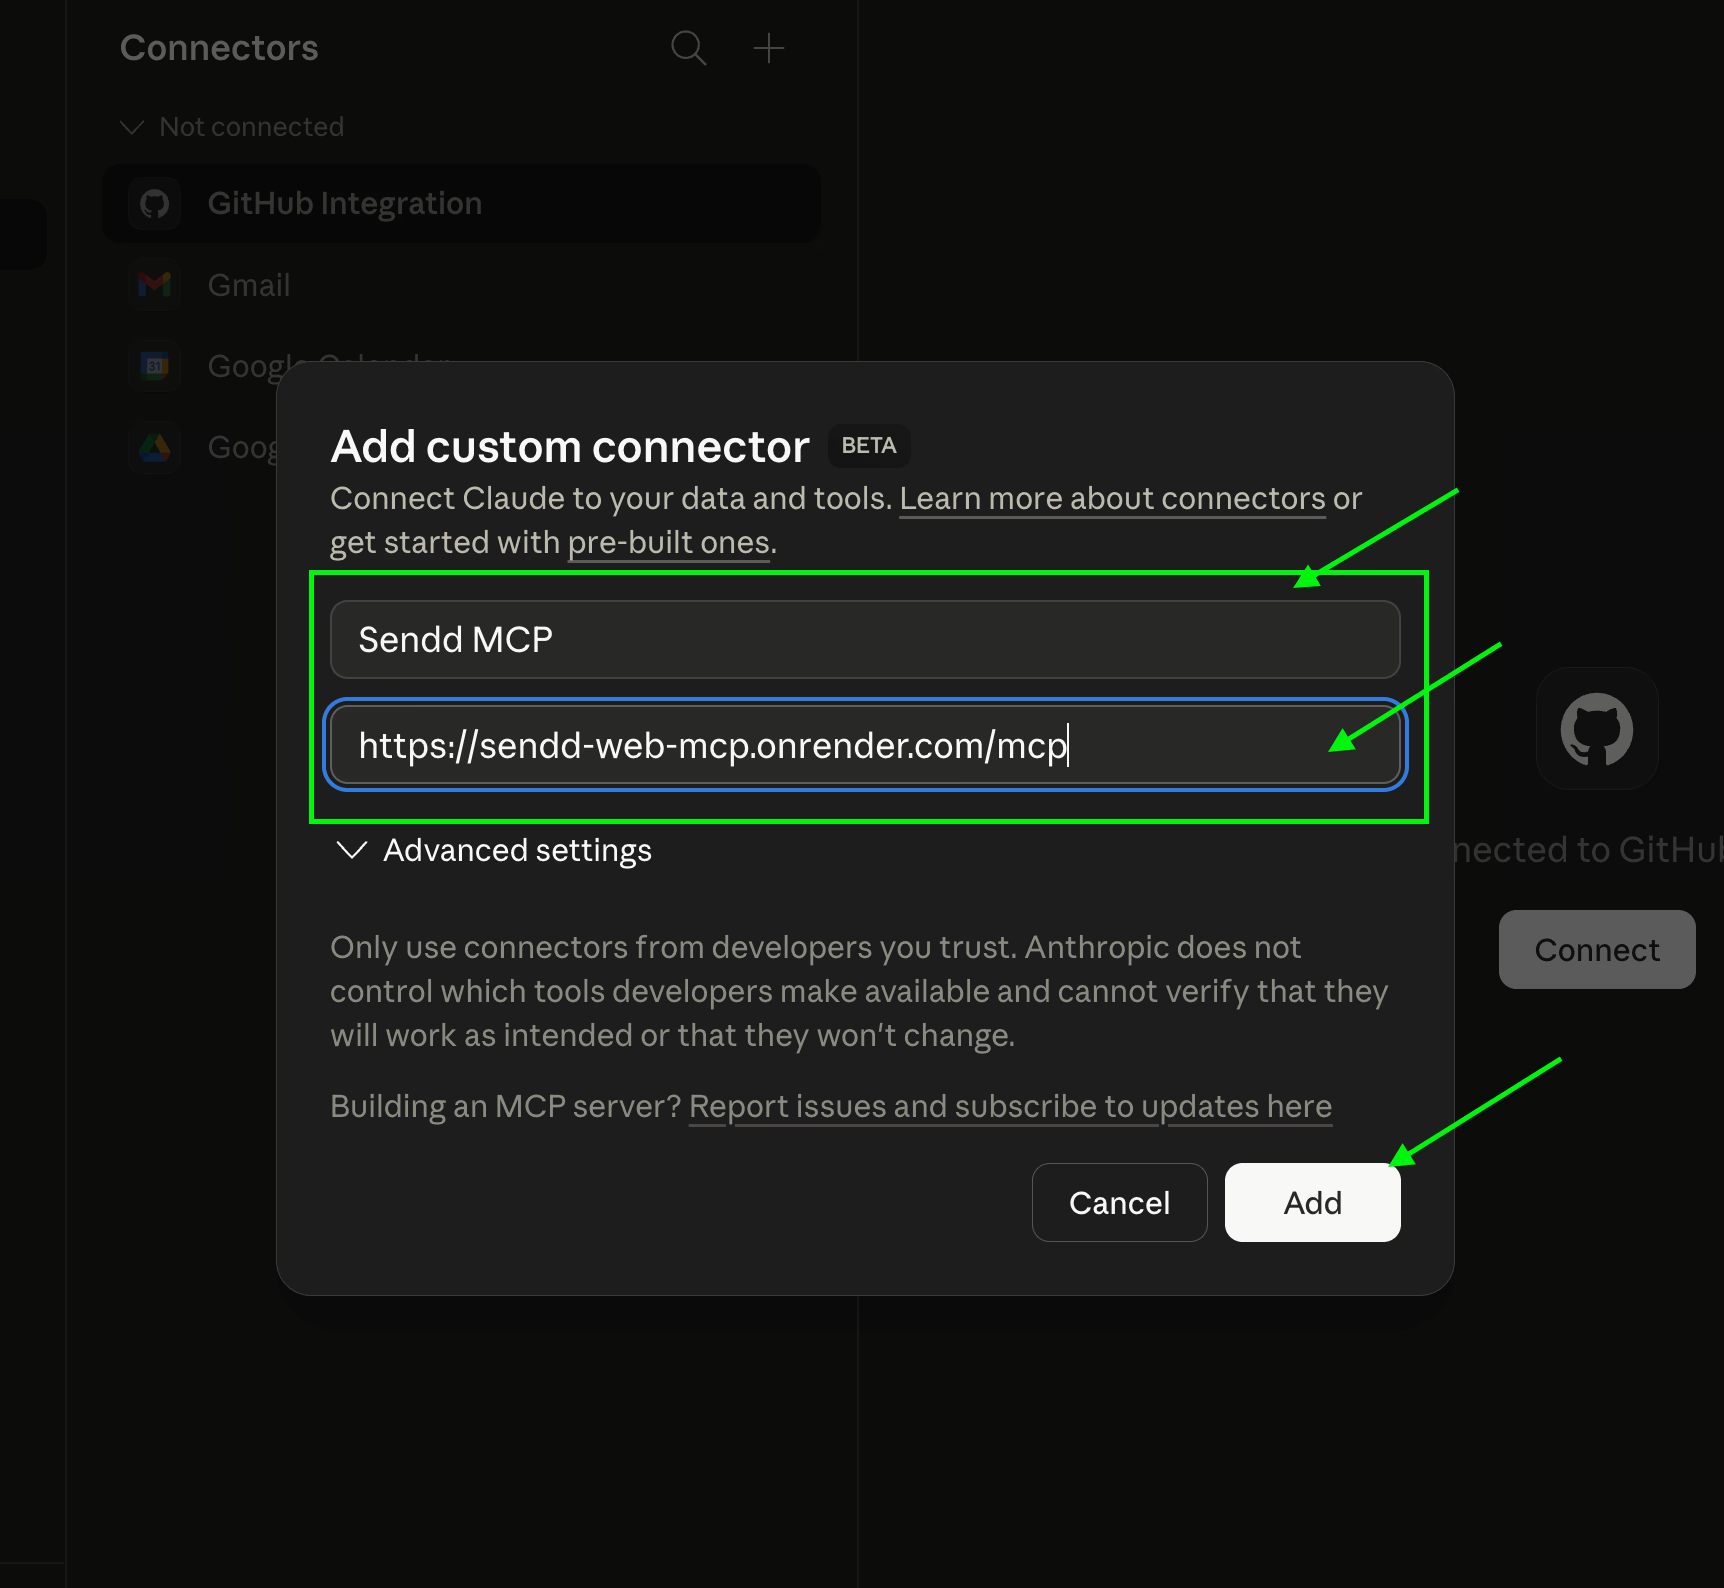
-
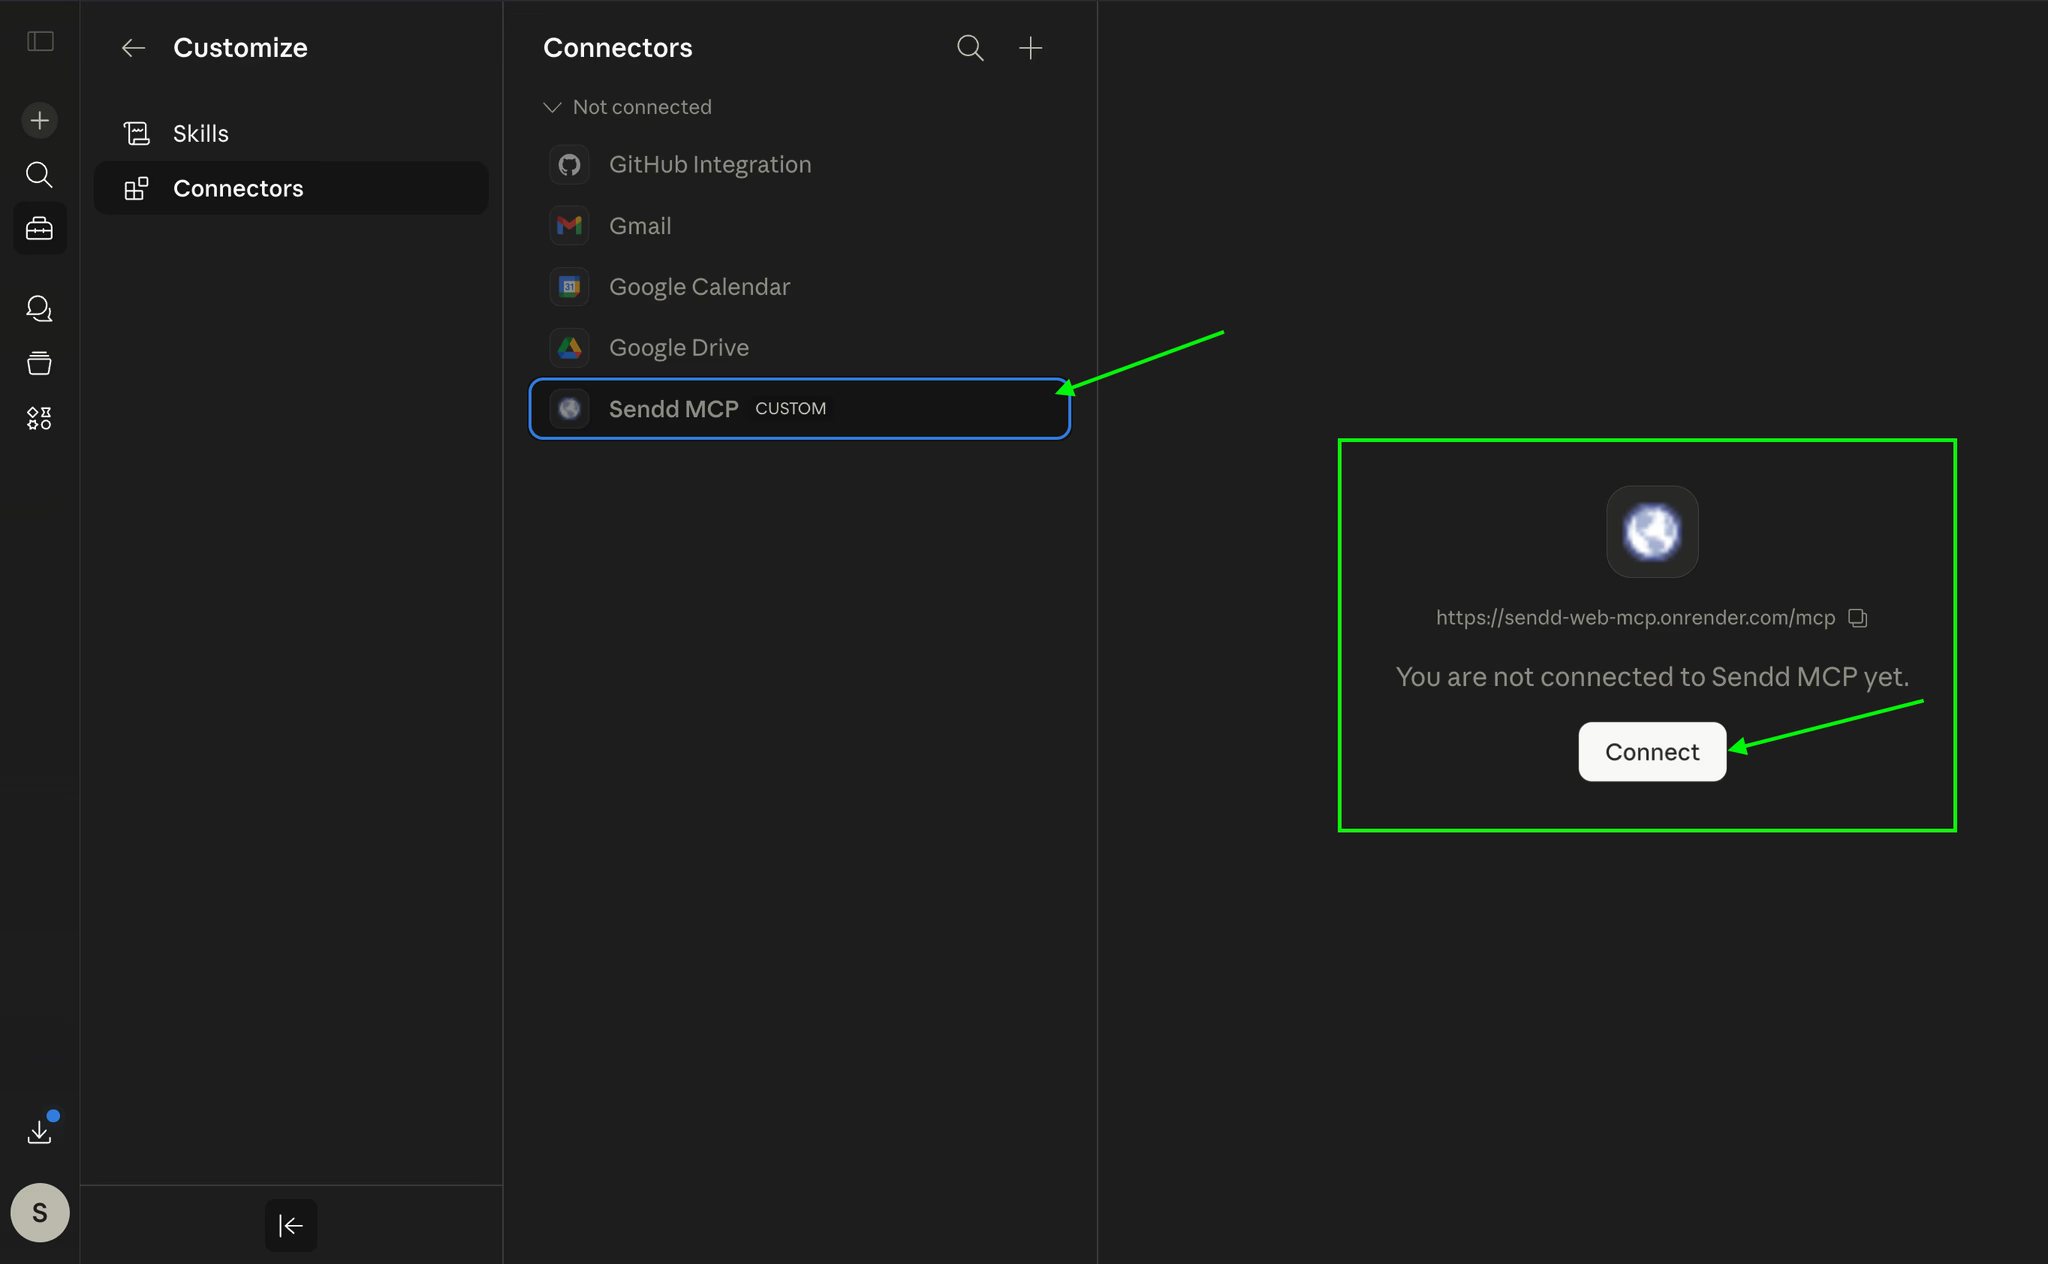
From here your MCP is added to Claude, now all you have to do is click on Connect as shown in the image below.
-
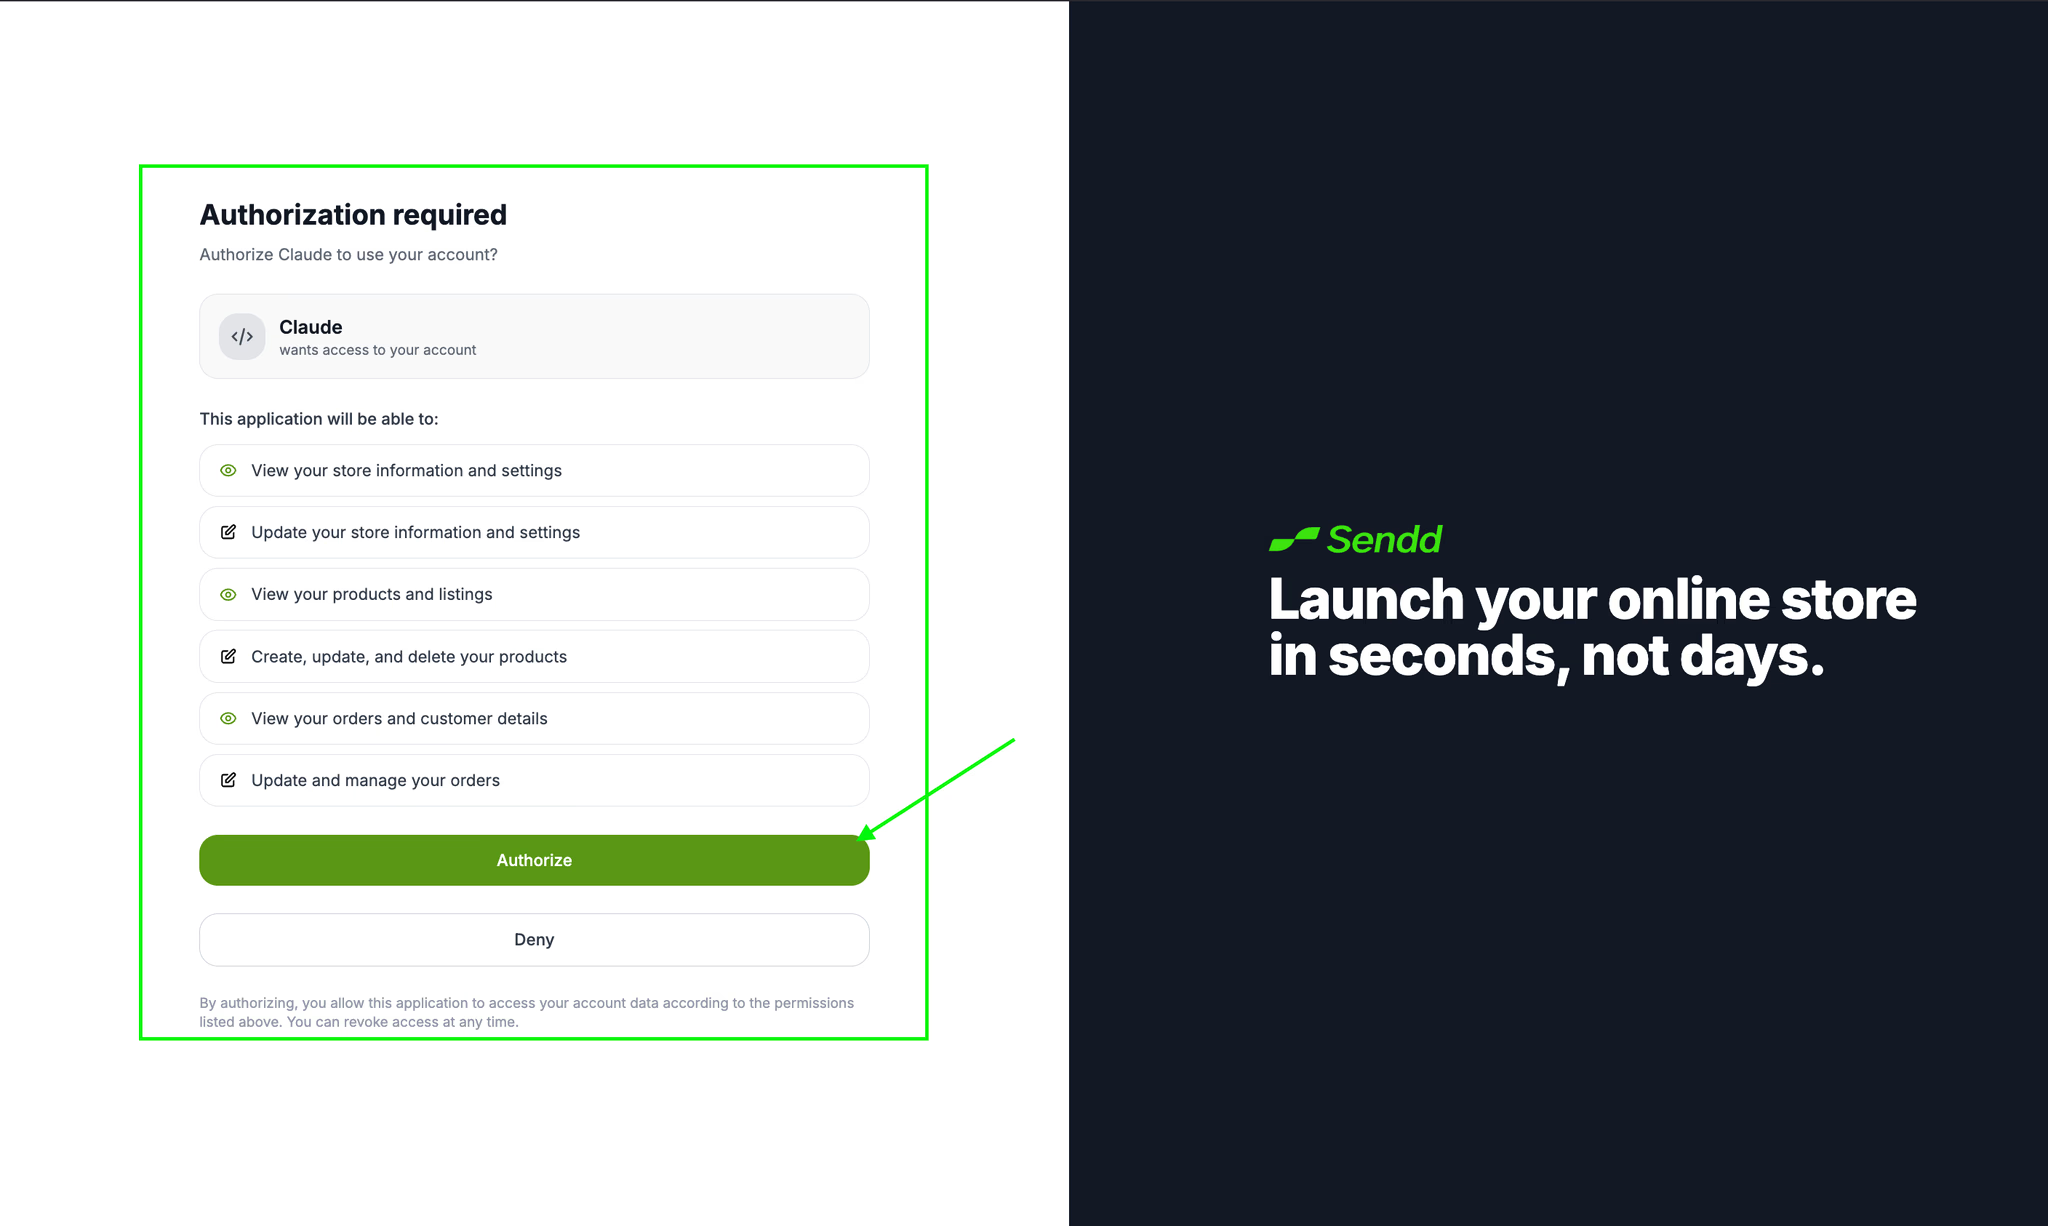
Now once you click on Connect, you will be re-directed to a new page within Sendd that lets Claude authorize modifications within your store. Click on Authorize to allow Claude to access your Sendd Store.
-
After you click on Authorize, the Sendd MCP has been connected, and you can easily start communicating with and modifying your Sendd Store!
Some of the use cases you would consider right now would be:
“Create an email list of all the customers within my database, the purpose is to create a newsletter for them on my new product launches.”
“Add a new Digital product with this provided file, and charge them around 40 dollars per sale.”
“Give me an inventory check of all the products live on my Sendd Store.”